Artist Talks & Demonstrations
Join my upcoming series of Artist Talks as part of my show Crossing Cultures. See tickets & dates here.
Japanese woodblock prints take around ten steps to produce - if you’re streamlined! Over several hundred years, Japanese craftsmen have refined what often initially appears a simple process. You may have seen Ukyiyoe prints before…Read some of the steps behind the extensive preparation of handcrafted prints to understand their unique charm.

Outside famous Miyagawa Brush shop ready to shop for brushes! Yep, we’re pretty into this Mokuhanga thing.
Step 1. Source the Materials
Tools, brushes, pigments, handheld printing barrens and of course...washi paper, must all be purchased. Generally speaking, these materials are only available in Japan with few other substitutes.
Step 2. Create the Image
Think of mountains and the sea...and what? I use these terms to explain how each section of an image must be an 'isolated mountain' surrounded by a 'sea' of blank space. If you're printing in more than one colour, you'll also need to plan ahead as usually one block per colour will need to be created.

Making a handheld printing disk called a barren…attempt no. 6!
Step 3. Sharpen the Tools
A meditative, if not laborious job, vital to keeping tools in good shape. A sharp tool is actually a safer tool, and less likely to slip during carving.
Step 4. Transfer the Image
I trace by hand each image onto the lightly-sanded woodblock. Accuracy is vital since layers of printed blocks will need to align later.
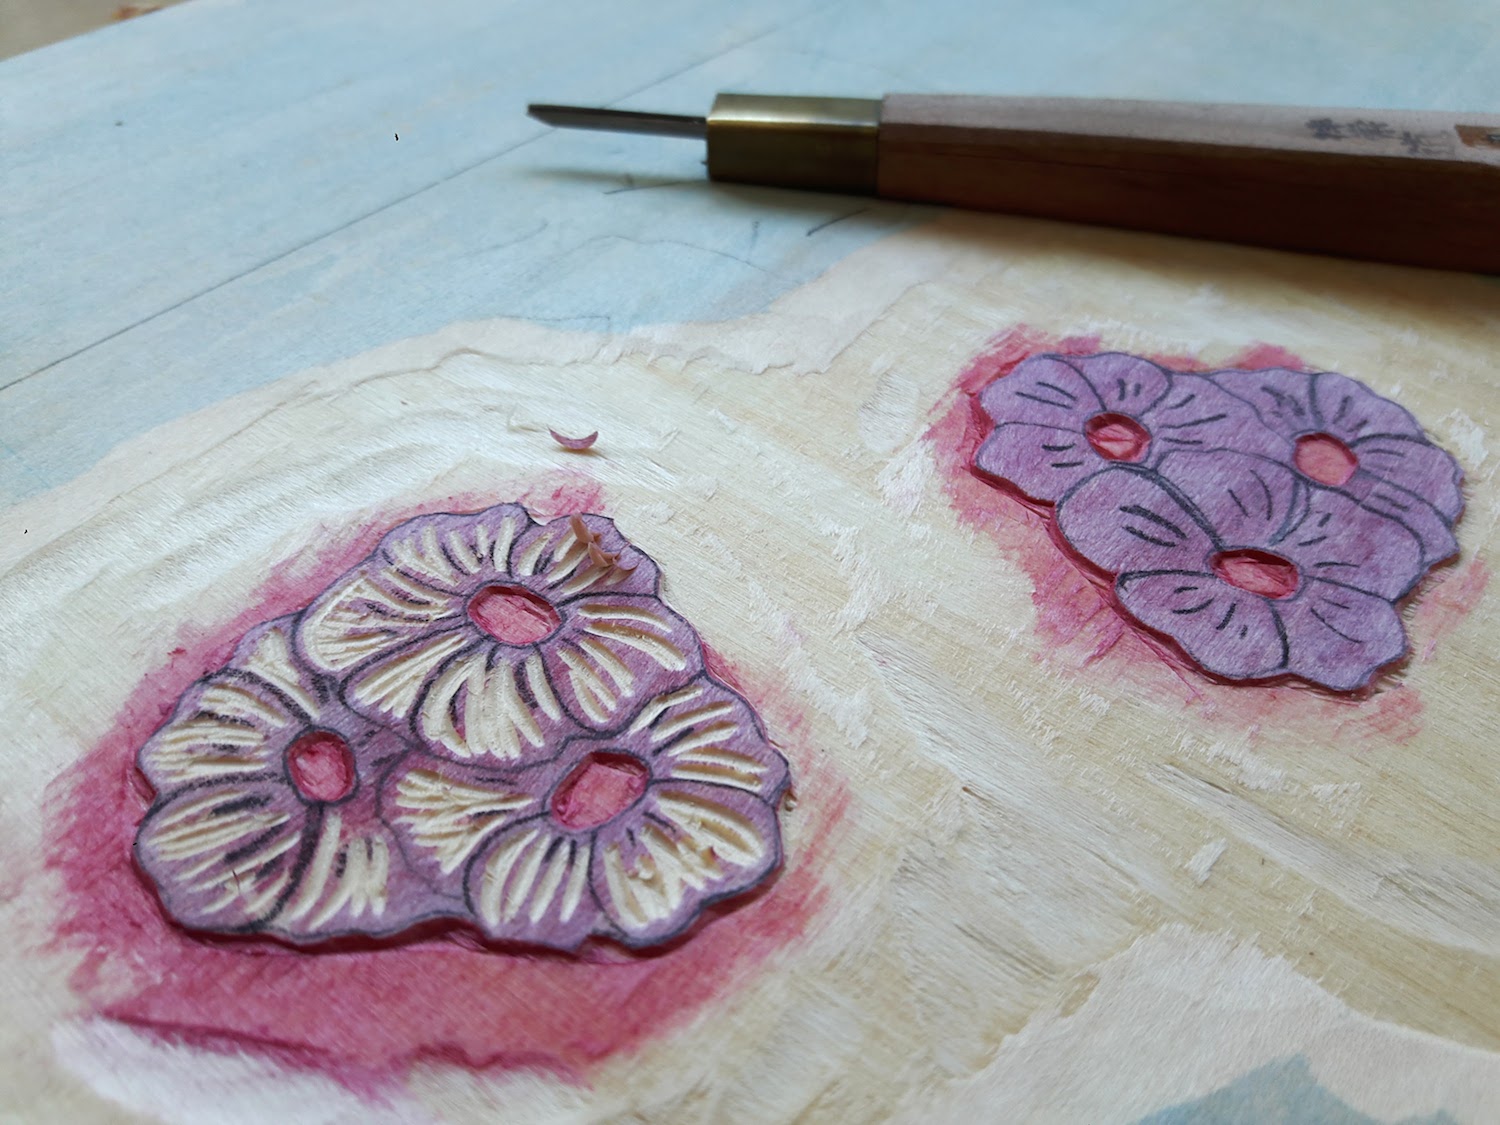
Step 5. Carve the Block
After transferring my images onto a separate block for each colour, I get carving! I can usually only carve for a few hours at a time during daylight hours. A piece of leather and abrasion powder is handy for 'honing' my tools as I go along. It's important to gauge the depth needed for carving. Too shallow and the carved areas will show. If I carve too deep, I may weaken my block (as well as wreck my tools!).
A wee bit here, and a wee bit there…
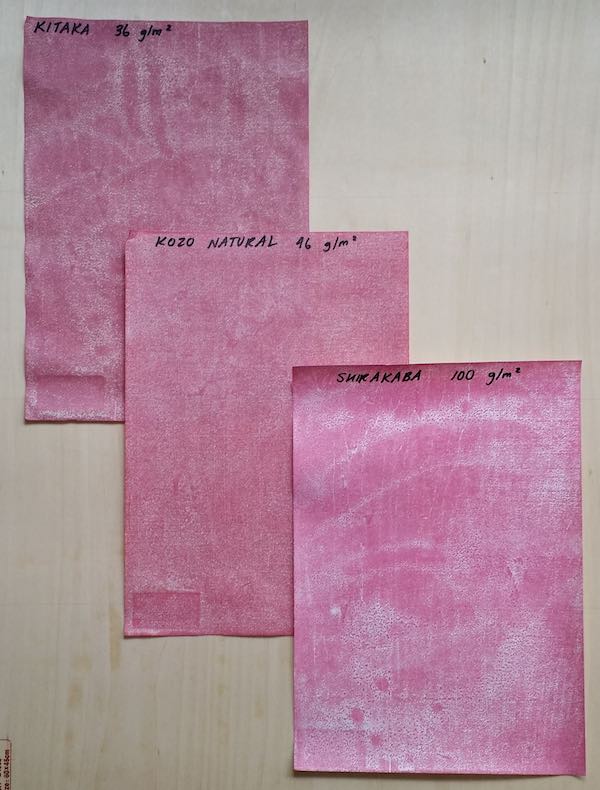
Step 6. Cut the Paper
Paper must be measured accurately ahead of time with a sufficient border. On the back, a small 'x' is marked to help later on with placing the paper in the right spot on the table.
Step 7. Dampen the Paper
I dampen the washi paper by spraying it with fresh water and leaving it in a damp stack of newspapers. The whole stack of papers is wrapped in plastic so that the moisture can distribute evenly through the washi paper. This step is usually done a few hours before printing, or even overnight. Watch out for mould though - the printer's enemy!

Dampening each hand-cut sheet of paper is one of the easiest jobs!
Step 8. Prepare the Inks & Brushes
Each colour is prepared ahead of time to ensure consistency. Brushes may need to be lightly sanded or even singed with a flame to ensure their softness. The block is then printed to 'see' the carved image and any rectifications are done then.
Step 9. Final Printing
Once happy with the test 'proof' prints, printing of the 'good' prints starts. Chocolate and green tea are essential for keeping the printer happy, and in turn, nicely printed work.

Final ‘proof’ of all blocks and colours used in the intended work before moving onto printing an edition of prints.
Step 10. Dry the Prints
Prints are slowly dried by placing them between sheets of dry paper and applying pressure. Stacks of interesting art and travel are most suitable for this step!
And step 11…enjoying having a piece of handmade artwork and being happy that you can tell a story of how it was put together!